Gear & rig requirements
HelioMaker drives a specific chain of hardware and software. This page lists what you need and helps you make the one choice that most affects how simple your rig is: how you guide.
The chain
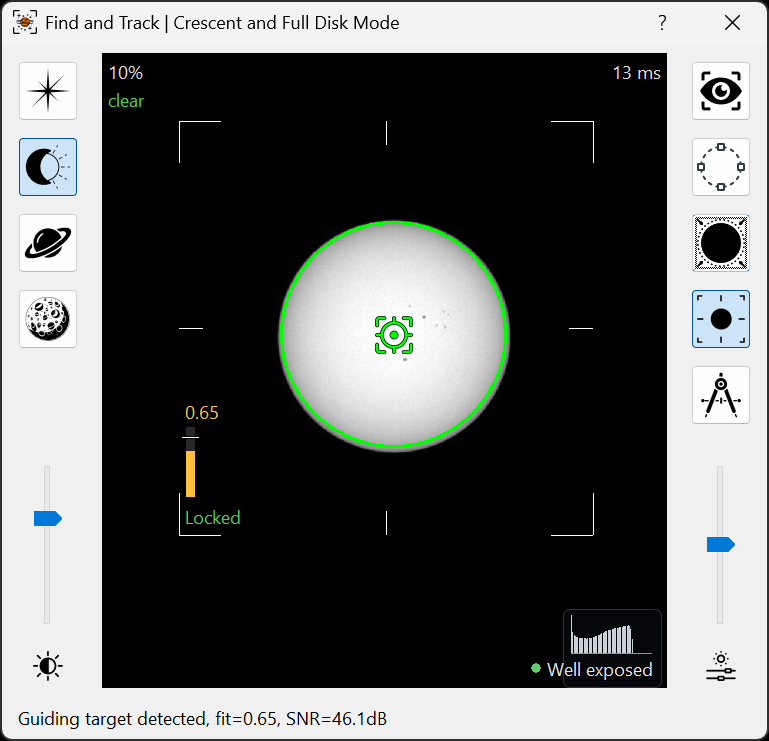
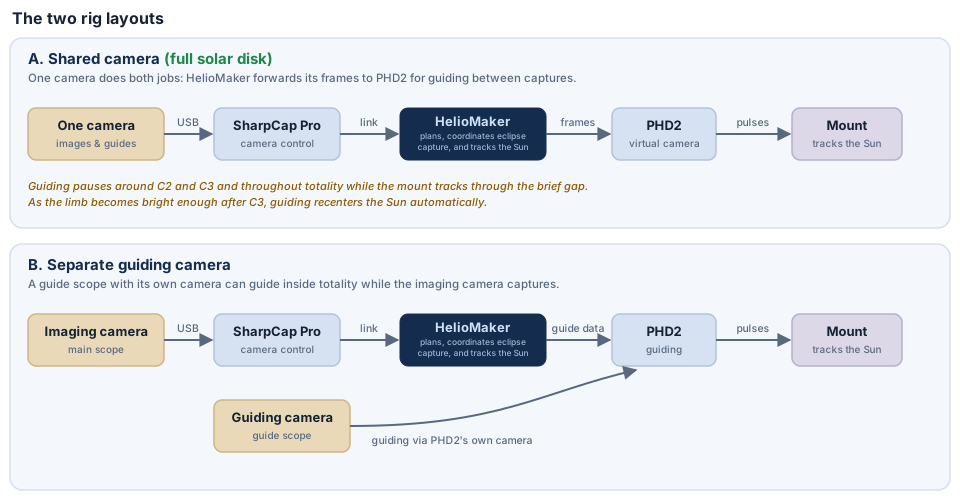
HelioMaker sits between your camera control software and your guiding software: SharpCap Pro drives the main camera, HelioMaker detects and tracks the Sun and forwards guide corrections, and a custom PHD2 fork guides the mount.
What you need
-
Main imaging telescope + fast planetary camera requiredYour primary scope must use a fast planetary imaging camera supported natively by SharpCap Pro. Select the camera through SharpCap's native camera support; do not use an ASCOM camera driver. HelioMaker sends capture commands to SharpCap and receives the frames, while SharpCap operates the main camera.
DSLR and mirrorless cameras are not supported by the current eclipse workflow. Its automated exposure changes, timing and capture sequence are designed for directly supported planetary cameras with fast readout and download rates.
Readout speed matters most during the central C2-to-C3 phases. Totality lasts only a few minutes, and the diamond-ring, beads and corona recipes compete for that fixed interval. A camera that downloads frames quickly can complete more planned HDR sets and capture more of those brief, unrepeatable moments. Run the System benchmark test with the actual camera, capture resolution, data format and storage drive before approving the plan.
-
Fast SSD capture storage recommendedUse a fast solid-state drive for the capture folder and have at least several tens of gigabytes free for the run. High camera download rates, large frames and repeated HDR sets can generate data quickly; a slow or nearly full drive can become the capture bottleneck even when the camera itself is fast.
HelioMaker estimates the required storage from the planned frame count and measured frame size. During preflight, the Disk space check compares that estimate with the selected capture drive's free space and warns when the available storage is insufficient. The System benchmark also measures the capture drive's write performance, so test the same SSD and capture folder that will be used on eclipse day.
-
Guiding: shared camera, or a separate guide scope choose one
Shared camera (full solar disk): one scope and one camera do both imaging and guiding. PHD2 is fed by HelioMaker's Virtual Planetary Camera, which is set in Plan preferences. The main frame must contain the complete solar disk with enough surrounding space for reliable detection. Nothing extra to buy, and only one solar filter to manage. HelioMaker guides through the ordinary partial phases and pauses guiding through the thin crescent and diamond ring contact windows and throughout totality. As the photospheric limb becomes bright enough for reliable detection after C3, it automatically recenters to the locked position. The mount tracks without guide corrections for those few minutes, so you only need to manage the filter.
Separate guide scope: a dedicated guide scope with its own guide camera and its own solar filter. A short focal length is forgiving (roughly 150 to 200 mm) and copes with a few degrees of alignment error. This setup is preferred when you want guiding to run inside totality or when the main camera uses high magnification and shows only part of the solar disk. It adds a second camera and a second filter to manage at exactly the right moments if guiding continues while the main filter is off.
-
Certified solar filter(s) requiredSuitable solar filtration, such as ND 5.0 white light film, on the main scope for all partial phases, and on the guide scope too if you use a separate one. What happens at totality depends on the eclipse mode. Ordinary photographic ND filters are not safe solar filters on their own. They may add attenuation behind a certified front-mounted solar filter, in which case select the effective density of the complete stack in Plan preferences. See Safety for the filter rules; they are not optional.
-
Equatorial mount with tracking + autoguiding requiredAn equatorial mount that can be controlled through ASCOM, tracks and accepts autoguiding corrections, and is well polar aligned using a daytime routine (see Prepare in advance).
-
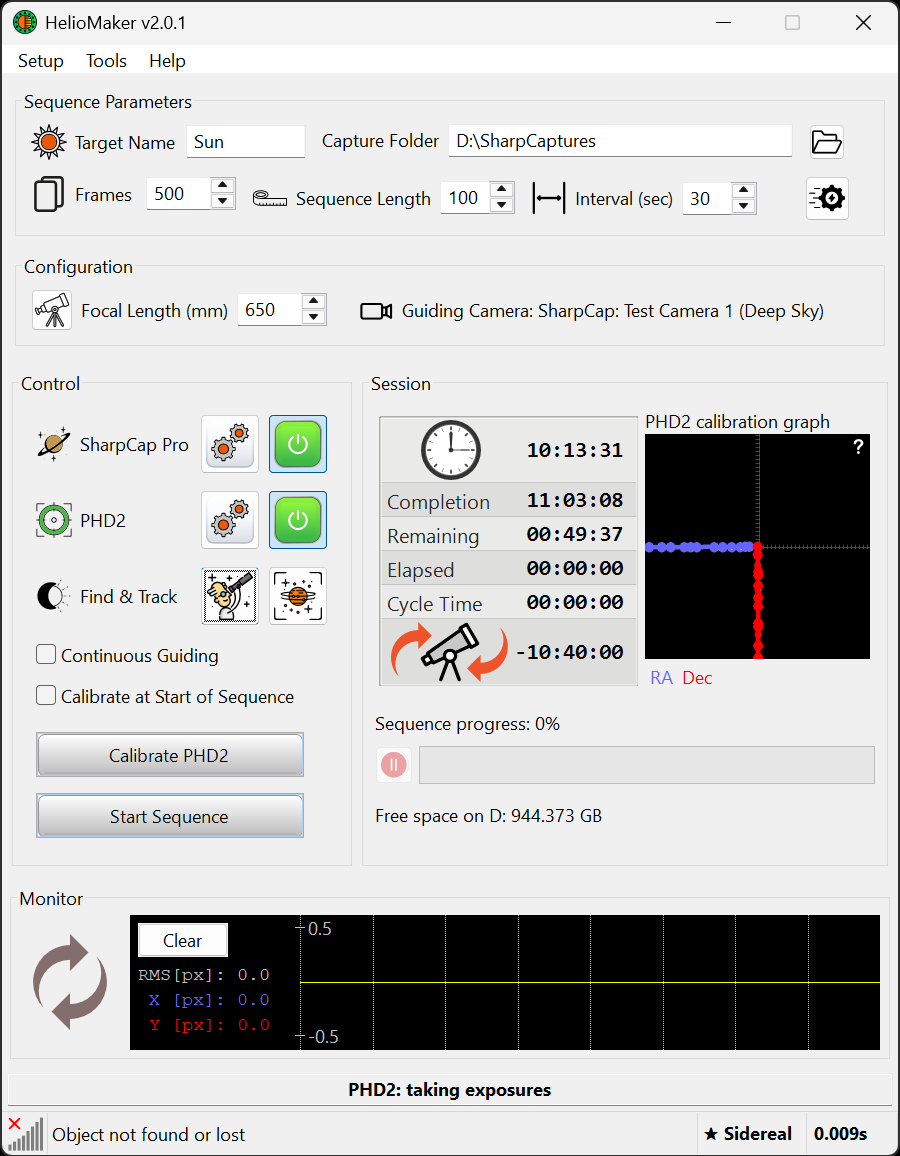
The custom PHD2 fork requiredHelioMaker injects synthetic guide frames into a custom PHD2 build (the
2.6.14-solarline). A stock PHD2 will not work. See the About the custom PHD2 page in HelioMaker's integrated help for where to get it and how it differs. -
Motorized focuser recommendedA motorized ASCOM focuser configured in SharpCap lets HelioMaker request one guarded SharpCap Refocus shortly before the corona appears. Before enabling the plan option, SharpCap Focus Assistant must complete and save a successful solar focus scan on the physical eclipse rig. Without a motorized focuser, focus manually and lock it. See Focusing.
-
A Windows PC with an accurate clock requiredRunning HelioMaker, SharpCap Pro and the custom PHD2 together. The PC clock must be accurate. Synchronize it with a reliable network time source; the preflight checklist has a clock synchronization step. Size the PC, cabling and power for a long unattended session in the field.