Preflight (arm) checklist
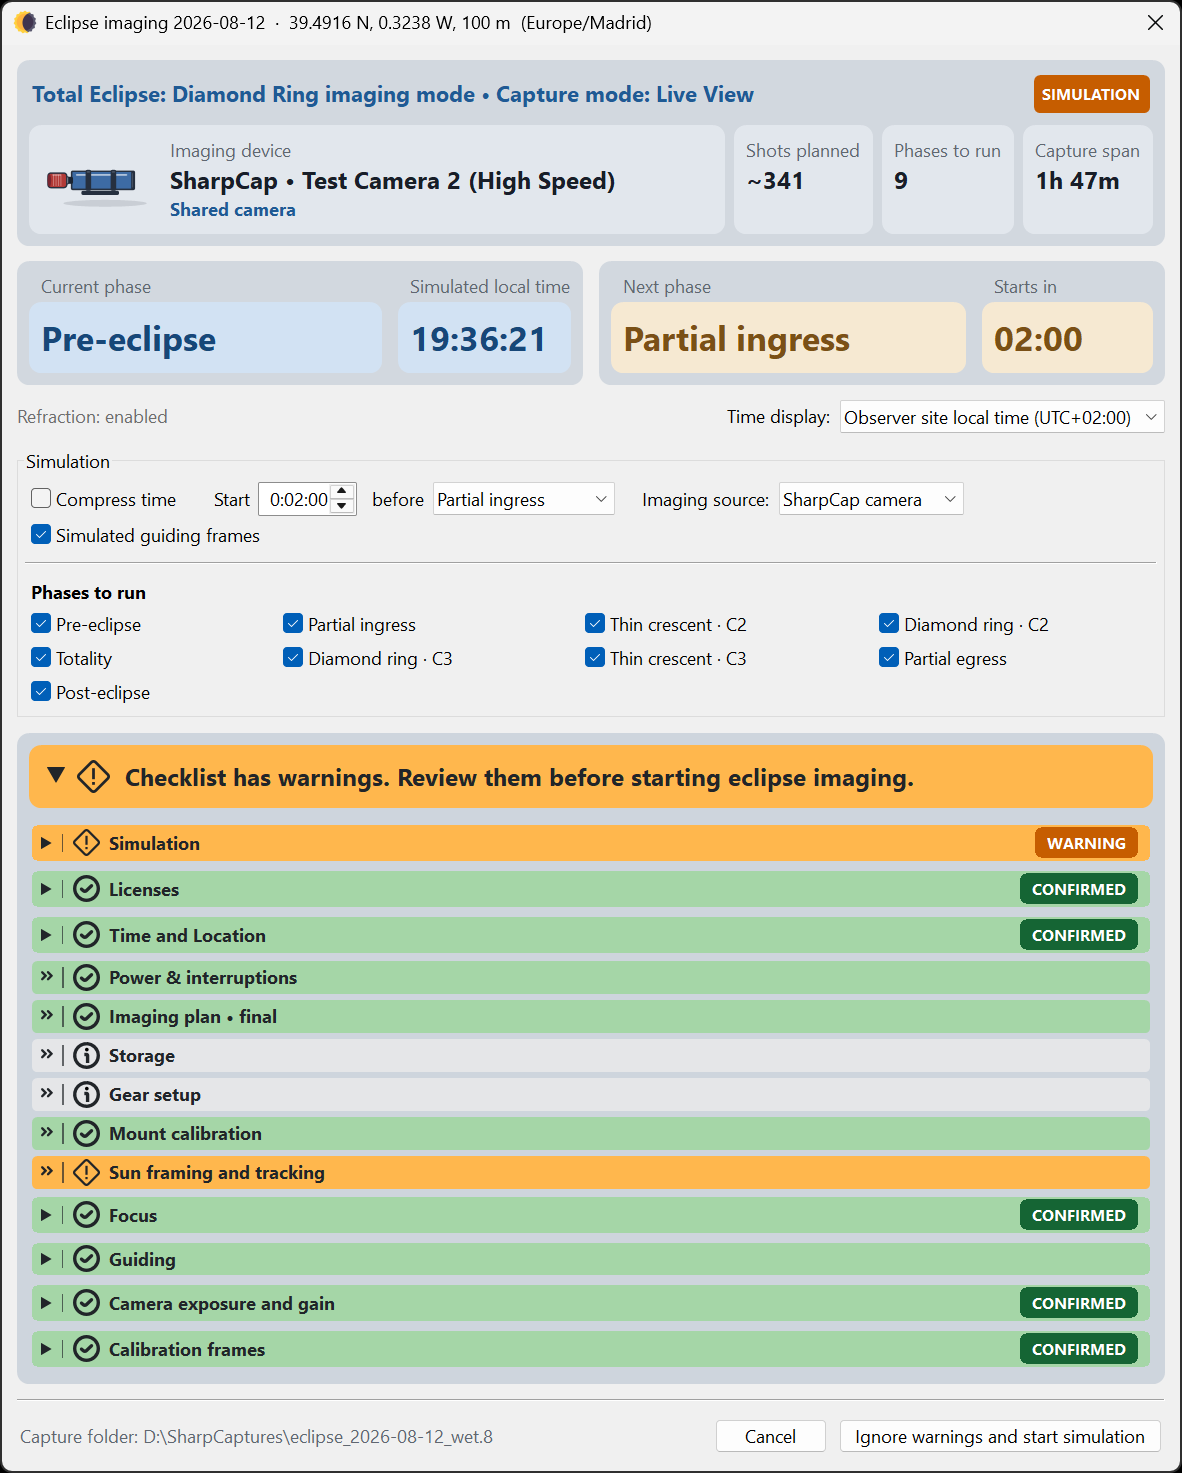
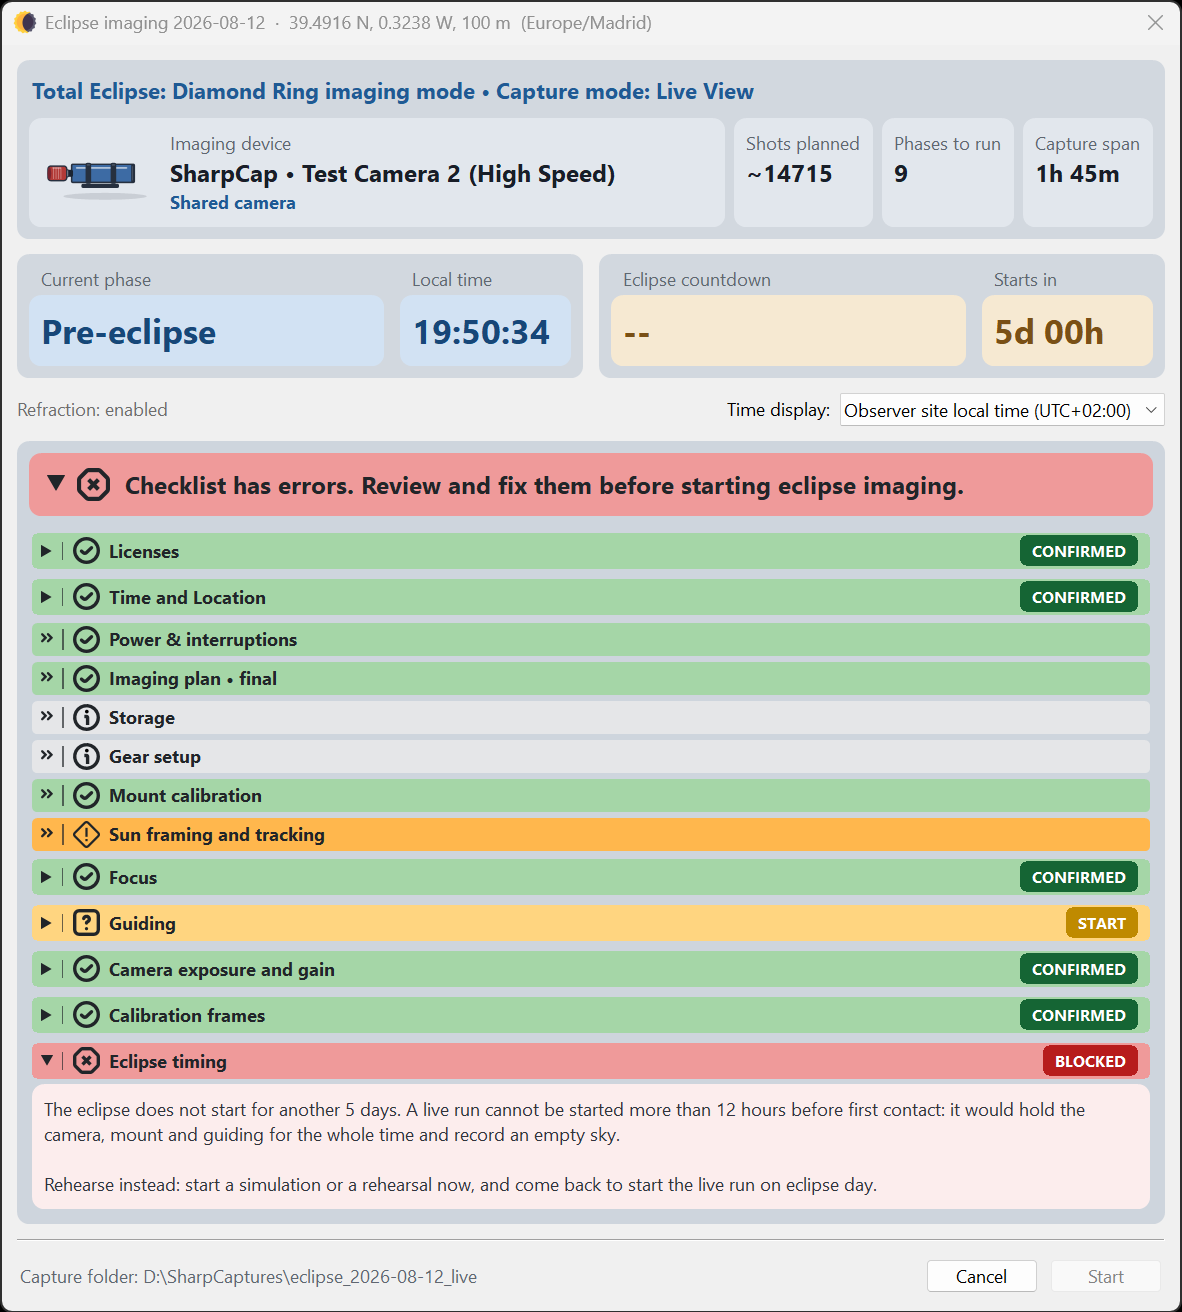
The go or no go dialog you open before a run. It walks through a set of grouped checks; each shows green when satisfied, amber/red when it needs attention. When the checklist is clear, you arm.
Open this dialog by selecting Start eclipse imaging for a live run or Eclipse plan rehearsal... for a rehearsal. The atmospheric-refraction choice is part of the saved plan. Preflight shows its current value as read-only text; change it in Plan preferences, not here.
The dialog is titled for the event and site (for example, Eclipse imaging August 12, 2026: <your coordinates>). A banner at the top tells you the next item standing between you and a clean start. When all is well, it ends with "Checklist is clear, ready to start eclipse imaging."
If any exposure, gain, capture format, colour space, binning, capture area or other sequence parameter needs to change, cancel preflight and update it in Plan preferences or the Phase editor. Save the revised plan, repeat any affected camera test, and rehearse it again before starting the eclipse run. Do not tune the sequence at the last minute in SharpCap.
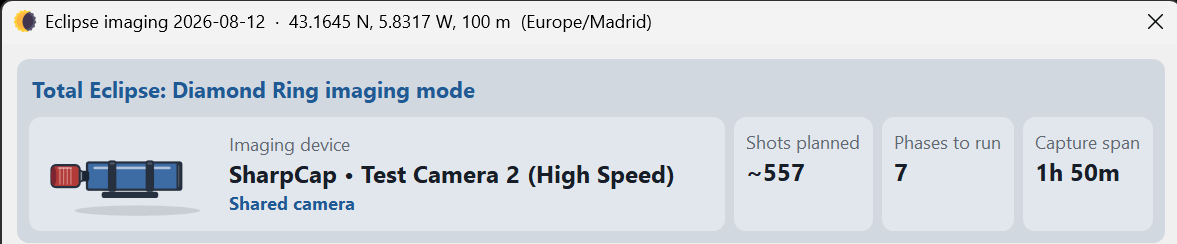
Verify the run summary
The top of the dialog identifies the event, imaging mode, selected camera, physical setup, approximate shot count, number of phases and capture span. Check this summary before working through the gates. The camera shown here must agree with both the saved plan and the camera currently open in SharpCap. Any disagreement is a hard blocker: choose the planned camera or deliberately update and reapprove the plan before arming.
The gates
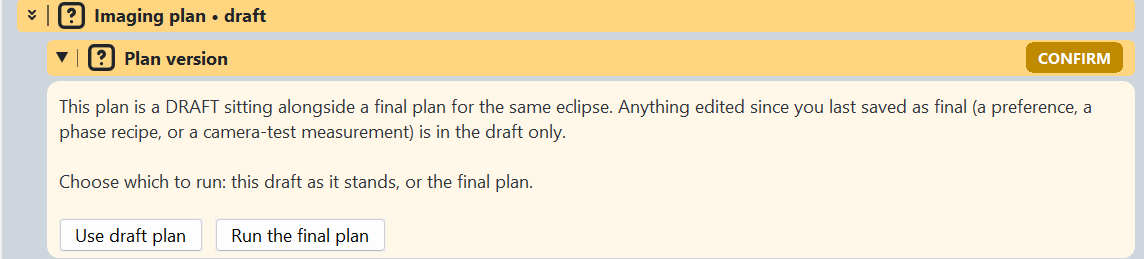
Plan version
- Plan version
- Are you about to run the intended plan? If a draft exists beside the final plan, changes made since the final plan was saved exist only in the draft. The gate asks you to choose Use draft plan or Run the final plan. See Draft vs final.
Time and Location
- Time and Location
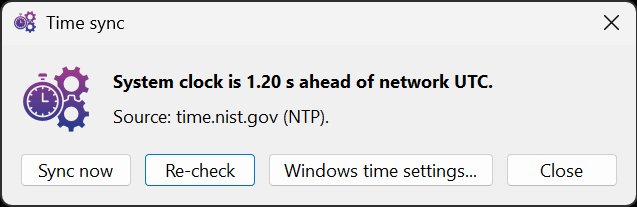
- Shows the selected observer, time zone, local time and the measured difference between the system clock and network UTC. Confirm that the observer location, time zone and displayed clock are correct. When online, the badge checks the clock against the NIST time service. Clock sync... opens the Time sync dialog. Select Sync the clock again when the sequence starts to open that dialog again when you actually start the run. This lets you recheck and, if needed, synchronize the clock when some time has passed since the preflight badges were cleared.
- Refraction: enabled or Refraction: disabled
- This read-only text reports which contact-time model is stored in the plan. When enabled, HelioMaker uses standard atmospheric conditions of 10 °C and 1010 hPa. When disabled, contacts are geometric. There are no temperature or pressure controls in preflight. The tooltip identifies the standard conditions and directs you to Plan preferences if the setting must change.
- Eclipse timing
- Confirms that contact timing is sound under the model saved in the plan. An accurate system clock keeps the sequence aligned to the sky.
Time display controls whether the dialog and run use UTC or the selected observer site's local time. It changes the display, not the calculated eclipse contacts.

Focusing & Guiding
- Focusing
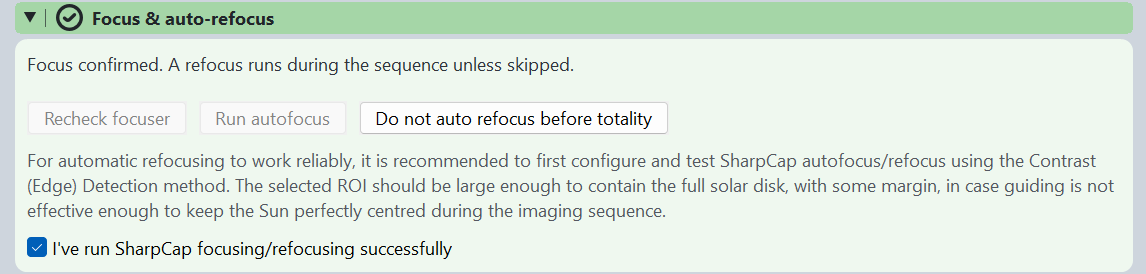
- Confirm focus or, if you use automatic refocus, verify that SharpCap has a successful saved solar focus scan from the physical rig. Run autofocus asks SharpCap to repeat that saved scan; it cannot configure the first scan. Buttons: Recheck focuser, Run autofocus, or Do not auto refocus before totality to opt out. With automatic refocus selected, the badge stays red until both focus is confirmed and Recheck focuser verifies the live focuser connection and solar-compatible saved scan. In shared-camera mode it also uses a stable HelioMaker solar detection to verify that SharpCap's saved focusing region contains the complete solar disk. See Focusing.
- Guiding
- If you use a separate guide scope and guide camera, focus the guide camera too; focusing the main imaging camera does not focus the separate guiding optical path. The badge shows guiding status and, if your plan would guide through the unfiltered phases, a red warning about both filters with a risk acceptance checkbox that gates a clean arm. See Safety.
Mount calibration
- Focal length
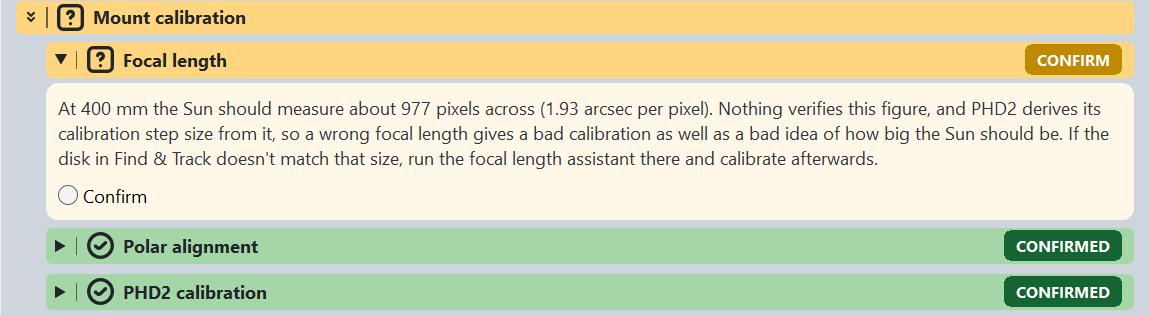
- The effective focal length of the optical path used for guiding. HelioMaker uses it to calculate the PHD2 calibration step size, so it must be correct before calibration.
- Polar alignment
- Confirms that the mount is polar aligned. Guiding can correct small tracking errors, but it cannot replace sound polar alignment.
- PHD2 calibration
- Reviews the current PHD2 calibration and its orthogonality error. A missing or failed calibration is a red preflight item: PHD2 cannot apply the corrections needed to return the Sun to its locked position until a successful calibration is available. Run Calibrate PHD2, preferably from the HelioMaker main screen, then review the new result.
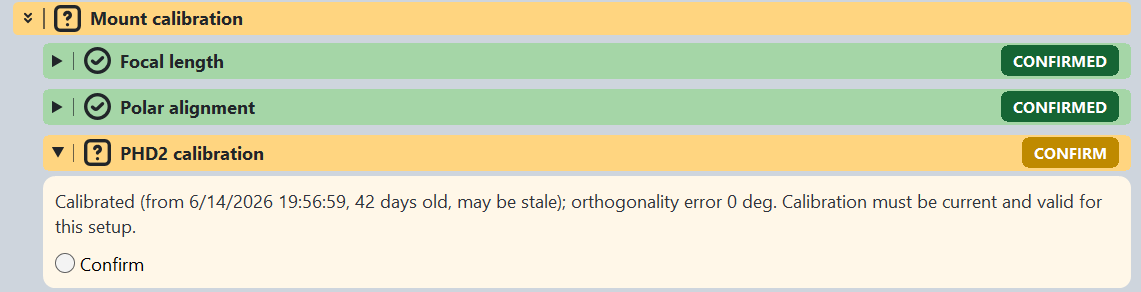
- A poor or failed calibration may indicate that polar alignment needs improvement. A large orthogonality error is an important clue, although mount mechanics, balance and backlash can also contribute.
- Too many or too few calibration sample points (dots) can indicate that the effective focal length is incorrect, because HelioMaker derives the PHD2 calibration step size from that value.
- Check or enter the correct focal length on the HelioMaker main screen (HelioMaker Help: Main Screen ▸ Focal Length). You can measure it with the Focal length assistant in Find & Track (HelioMaker Help: Find & Track ▸ Focal Length Assistant), or calculate it with the main screen's Focal length calculator. Then run PHD2 calibration again.
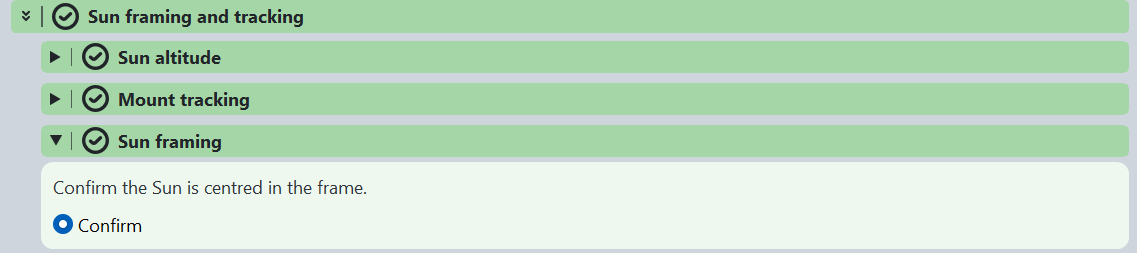
Sun framing and tracking
- Sun altitude
- Confirms that the Sun is above the observing horizon. For a simulation with the Sun below the horizon, a checkbox lets you proceed anyway.
- Mount tracking
- Confirms that the mount is tracking the Sun. The controls in this group can start solar tracking.
- Sun framing
- Asks you to confirm that the Sun is centred in the frame.
Exposure, storage & latency
- Exposure plan · Totality slot
- A check on the exposure plan and whether the central phase cycles fit their time slot.
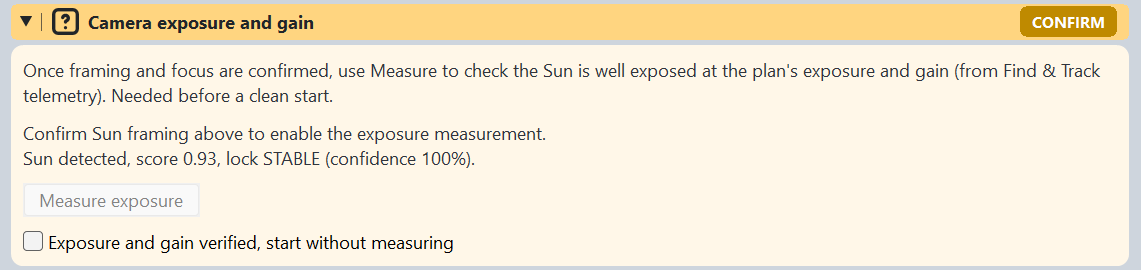
- Camera exposure and gain
- Checks the plan's base exposure and gain against the filtered Sun; a Measure exposure button runs the verification. It does not automatically choose new planning values. If the disk is not bright and detailed without clipping, adjust the physical camera, record the pair that works, return to Plan preferences..., enter it as the full solar disk exposure and gain, derive and review the phases again, and save the revised plan as final before starting.
- Camera latency
- Warns if the intervals for each phase are faster than the camera was measured to sustain, or if the measurement no longer matches the plan's frame size. Fix via the System benchmark test.
- Capture folder · Disk space
- Where frames are written (Choose folder...) and whether there's enough free space for
the estimated capture. HelioMaker preserves a non-empty folder from an earlier or interrupted Live session
and automatically selects a fresh numbered sibling for the restart, such as
..._live.2. This keeps the previous images, run log and timing record intact while avoiding SharpCap filename collisions. - Calibration frames
- A reminder/check for your darks/flats if you use them.


Power and wake
- Power · System wake
- Battery level, estimated runtime, and confirmation that Windows will not sleep during the run.

Arming and overriding warnings
When the checklist is clear, Start arms the run and opens the run console. Cancel backs out.